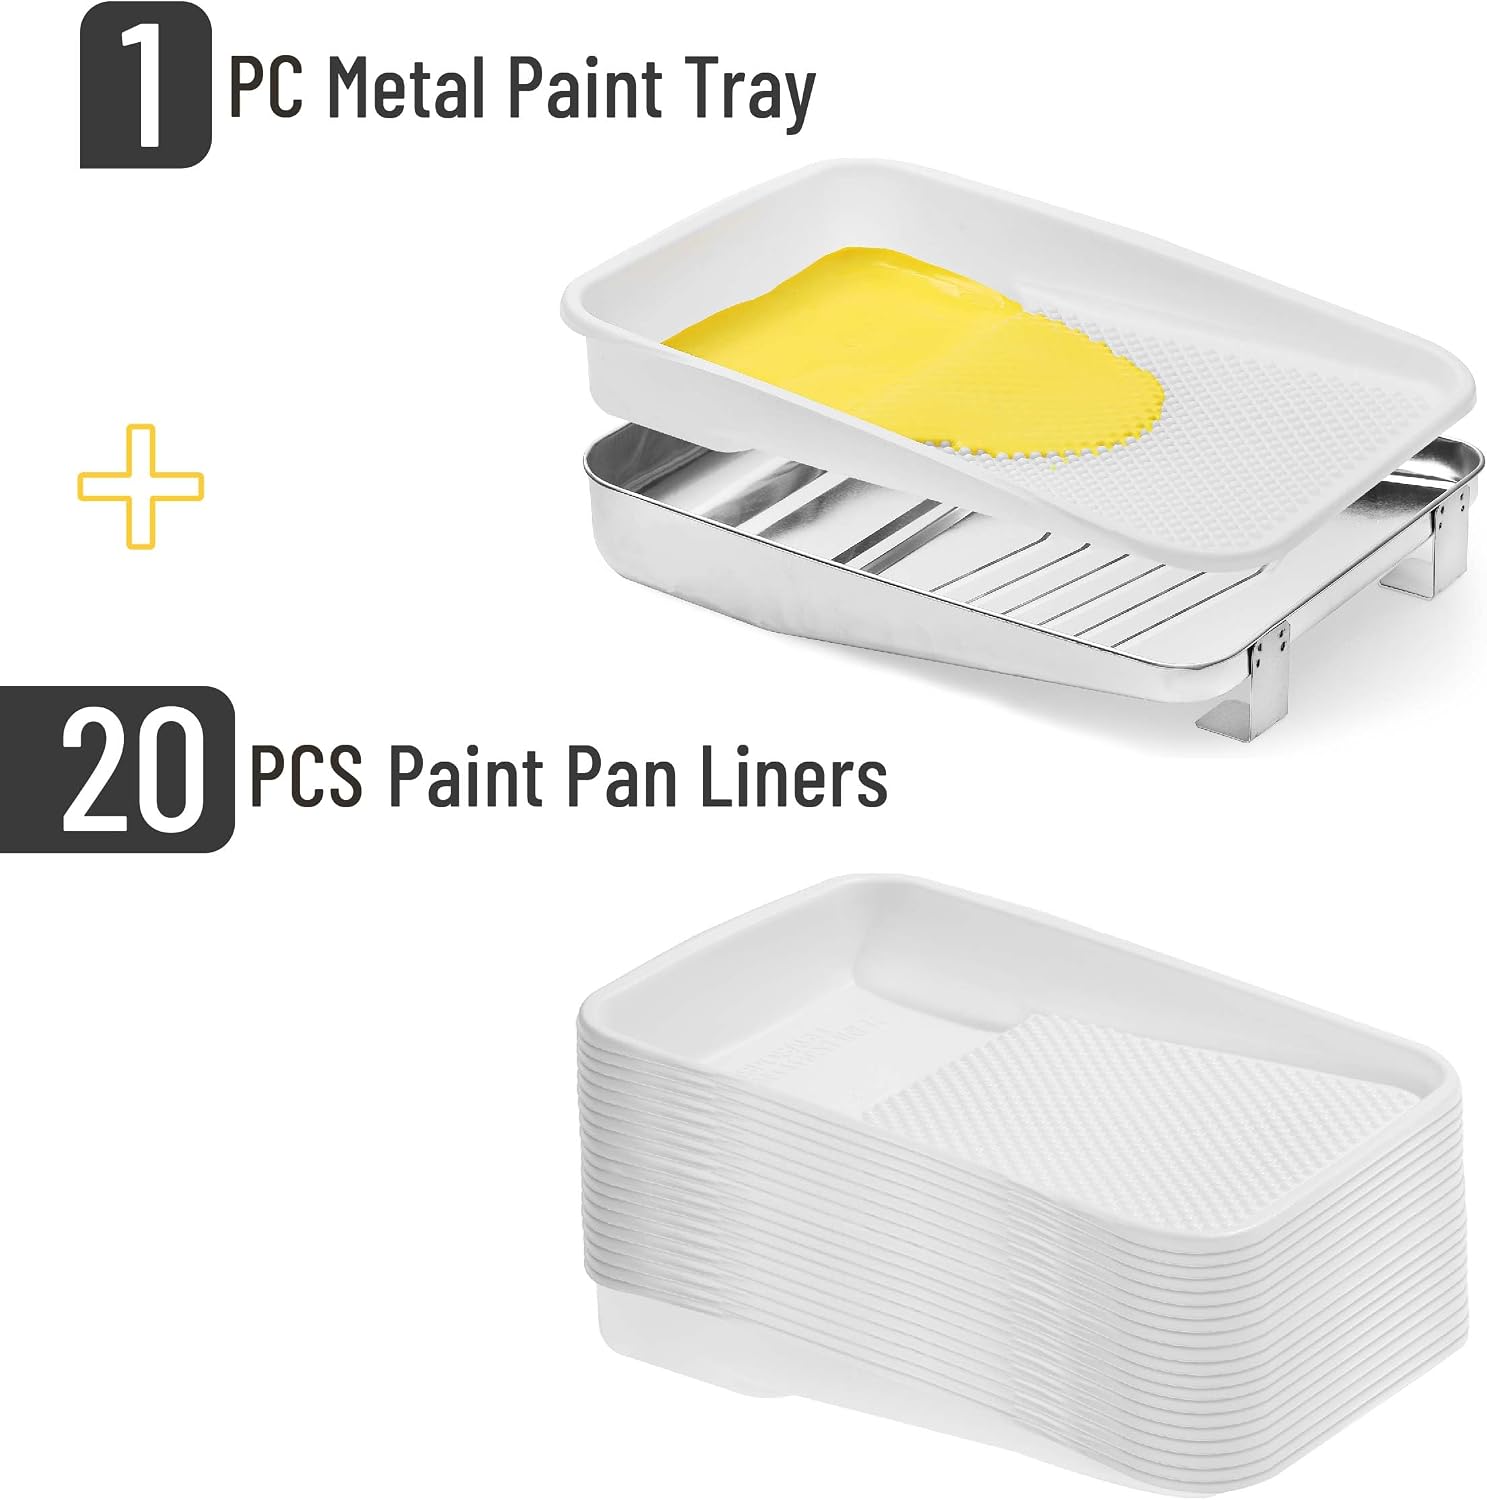
You’re two rooms into a four-room weekend project, and your paint tray — a $4 metal pan you’ve owned since 2019 — has developed a barnacle crust of dried Agreeable Gray along the ribbed slope. You either stop to soak and scrub it (there goes twenty minutes and most of your motivation), or you keep rolling and watch the dried flakes contaminate the fresh coat you’re about to lay on the dining room walls. Neither option is great.
This is the problem that paint tray liner systems solve. A tray liner is an insert — either a flexible plastic shell or a thin disposable sheet — that fits inside your existing tray or a dedicated base, holds your paint during the job, and peels away or collapses for disposal afterward. The tray itself stays clean indefinitely. For a practitioner running multiple rooms, multiple colors, or back-to-back project days, liners don’t just save cleanup time — they change how you structure a workday. This guide breaks down the three main system types, names the tradeoffs explicitly, and ends with a clear decision rule for each scenario.
| EDITOR'S PICK[Bates- Paint Tray Liner](https://www.amazon.com/dp/B0DDJ9V52N?tag=greenflower20-20) | Mid-tierBates- Paint Tray Liner | Budget pick[Bates- 4 Inch Paint Tray Set](https://www.amazon.com/dp/B01MRTEOHI?tag=greenflower20-20) | |
|---|---|---|---|
| Tray Size | 9 Inch | 9 Inch | 4 Inch |
| Total Pieces | 41 | 10 | 22 |
| Disposable Liners | 40 | 10 | 20 |
| Roller Frame | — | — | ✓ |
| Price | $26.99 | $13.99 | $13.85 |
| See on Amazon → | See on Amazon → | See on Amazon → |
The Three Systems You’ll Actually Choose Between
1. Disposable Plastic Liner Shells
These are the molded, semi-rigid plastic inserts — usually HDPE or polypropylene — that snap or drop into a standard 9-inch or 14-inch tray. Brands like Purdy, Wooster, and a handful of house-brand versions sold at Home Depot and Lowe’s produce these in bulk packs.
How they work: You drop the liner into your tray, pour paint into the liner, roll, and work normally. When you’re done with that color, you let the liner sit until the paint skins over (latex dries in 20–30 minutes in typical indoor conditions), then flex the liner and peel the dried skin away — or just toss the whole liner. The base tray is untouched.
What owners report: Across aggregated DIY forum reviews and the Bob Vila “Best Paint Trays” roundup, the recurring praise is speed — specifically, color changes mid-project take under two minutes when you have a stack of liners ready. The recurring frustration is flex cracking: thinner liners (common in budget 10-packs) can split at the ribbed slope if you flex them too aggressively while peeling dried latex.
Price reality: A 10-pack of standard 9-inch liners runs $6–$10 at retail. If you’re doing a single-color room, one liner handles the job. A three-color, four-room project might burn through 6–8 liners. Per-project cost: $4–$8. At that scale, it’s a rounding error against your paint budget.
Sustainability note: These liners are single-use as typically sold, though some manufacturers label them “reusable if cleaned.” The Spruce’s guide on cleaning paint trays notes that cleaning a plastic liner with latex paint is possible with warm water before the paint dries, but the time cost largely defeats the point. If environmental overhead matters to your workflow or your client’s values, factor this in.
2. Flexible Bucket-Style and Folding Liners
A newer format — closer to a silicone baking mat than a rigid shell — these are thin, flexible liners that fold flat for storage and conform to the tray’s shape when loaded with paint. Some versions are closer to a fitted plastic bag; others are cast silicone.
The pitch: Silicone liners in particular can be peeled clean, rinsed in seconds, and reused dozens of times. Manufacturers rate some silicone versions for 50+ uses. The Apartment Therapy painting tips feature specifically calls out silicone liners as the upgrade worth making for painters doing frequent, color-varied work.
Tradeoffs to name explicitly:
- Cost up front: A quality silicone liner runs $12–$18 individually, versus $0.60–$1.00 per disposable shell. Break-even is roughly 15–20 uses — achievable over a single busy renovation season.
- Cleaning isn’t zero-effort: Latex wipes off silicone easily; oil-based enamel or alkyd paint requires mineral spirits and a paper towel wipe, adding 3–5 minutes. If you’re spec’ing Fine Paints of Europe Hollandlac or any alkyd finish, add that step to your mental model.
- Stability: Flexible liners can shift in the tray when you load a heavy roller. Users in long-run reviews (aggregated on the Bob Vila roundup) note that liners with a textured base or friction grip perform noticeably better than smooth-bottom versions.
3. Dedicated Magnetic and Locking Liner Systems
This is the premium tier — systems where a proprietary base tray and liner are designed as a matched pair, often with a magnetic or mechanical lock that keeps the liner from migrating during use. Shur-Line’s magnetic tray system is the most widely distributed version in this category as of 2026.
What the system buys you: Zero liner shift, a more rigid tray feel that mimics working with a bare metal pan, and (in most versions) a liner that peels clean and reloads. Reported average liner life in the Shur-Line ecosystem, per owner reviews aggregated on the This Old House buying guide, is 30–50 uses with proper latex cleanup.
The math on a pro-volume workflow:
| System | Up-front cost | Per-use cost (20 uses) | Clean time per session |
|---|---|---|---|
| Disposable plastic shells | $8/10-pack | $0.80 | ~0 min (toss it) |
| Silicone reusable | $15 liner | $0.75 | 1–3 min (latex) |
| Magnetic lock system | $25–$35 base + liner | $1.25–$1.75 | 1–3 min (latex) |
At 20 uses, the cost-per-use gap between systems is essentially noise. The real differentiator is workflow feel and the friction of color changes.
Where Liner Systems Interact With Your Paint Choices
This is the nuance that intermediate practitioners tend to underweight: the liner system you choose should match the paint chemistry you’re running, not just the project scale.
Latex and water-based finishes (Sherwin-Williams Emerald, Benjamin Moore Aura, Clare, Backdrop, Lick) are forgiving across all liner types. Disposable shells, silicone, and magnetic systems all handle latex without complications. Cleanup with water works on any of them before the paint skins.
High-end limewash and mineral finishes (Portola Rooms kits, Bauwerk Colour) are thicker, have faster drying times on contact surfaces, and can adhere more aggressively to thin plastic. Owners working with Portola’s limewash report in aggregated reviews that disposable plastic liners sometimes bond to dried limewash patches and tear rather than peeling cleanly. Silicone liners outperform here — the non-stick surface is more resistant to limewash adhesion.
Alkyd and oil-based finishes (Fine Paints of Europe Hollandlac, Benjamin Moore Advance in its alkyd-hybrid form) require mineral spirits for cleanup on any reusable liner. If you’re spec’ing Hollandlac for cabinetry, the cleanup delta between a $0.80 disposable liner and a silicone liner narrows considerably — some practitioners simply use disposables for oil jobs and reserve silicone for latex-heavy workflows.
Fine art and studio applications are a separate case entirely. Painters working with Golden Heavy Body Acrylics or Gamblin oils typically work at smaller volumes and use palette-style setups rather than roller trays — liner systems aren’t the relevant tool here.
The Stacking-Stack Problem: How to Set Up for Multi-Color Days
If you’re running multiple colors in sequence — say, a full repaint where you’re hitting walls, trim, and an accent color — the fastest liner workflow is not one liner per color but a dedicated base tray per color zone, with liners pre-loaded.
The This Old House paint tray buying guide notes this specifically: professional painters doing multi-room, multi-color jobs increasingly keep 3–4 base trays staged rather than swapping liners in a single tray. You pour your colors ahead of time, cover idle trays with plastic wrap to slow skinning, and rotate through the color sequence without stopping. This approach works equally well with disposable shells or locking magnetic systems.
By the numbers:
- A 9-inch roller tray holds approximately 12–16 fl oz of paint comfortably
- Covering a liner with plastic wrap extends workable time by 30–45 minutes before skinning begins (per manufacturer guidance on water-based paints)
- Three pre-staged trays add roughly $3–$10 to a project’s consumables budget depending on liner type — easily recovered in labor time
Decision Rule: Which System for Which Situation
Here’s the framework, stated plainly:
If you’re doing a single-color room or occasional painting: Disposable plastic shells are the right call. You’re not doing enough volume to justify the up-front cost of a silicone or magnetic system. Buy a 10-pack and don’t overthink it.
If you run 3+ projects a year or regularly change colors mid-job: A silicone reusable liner breaks even by your third or fourth project and pays forward from there. The Apartment Therapy recommendation for frequent painters holds up on the cost math.
If you’re spec’ing premium finishes — Portola limewash, any alkyd enamel, or anything with a fast dry time on contact surfaces: Silicone over disposable plastic. The peel-off reliability on silicone is meaningfully better with thicker or faster-setting materials.
If you want the most professional workflow feel and you’re running a magnetic-compatible base tray: The locking system earns its premium for eliminating liner shift during heavy-roller use. At $25–$35 all-in, it’s a one-time cost that most practitioners absorb across two projects.
If you’re doing oil-based work exclusively: Disposables probably win on total economics once you factor in mineral spirits and the extra cleanup minutes on a reusable liner. Use disposables for oil jobs, silicone for latex days if your workflow is mixed.
The cleanup question answers itself once you’ve matched the liner type to the paint. Get that pairing right, and the tray is the last thing you think about — which is exactly where it should be.