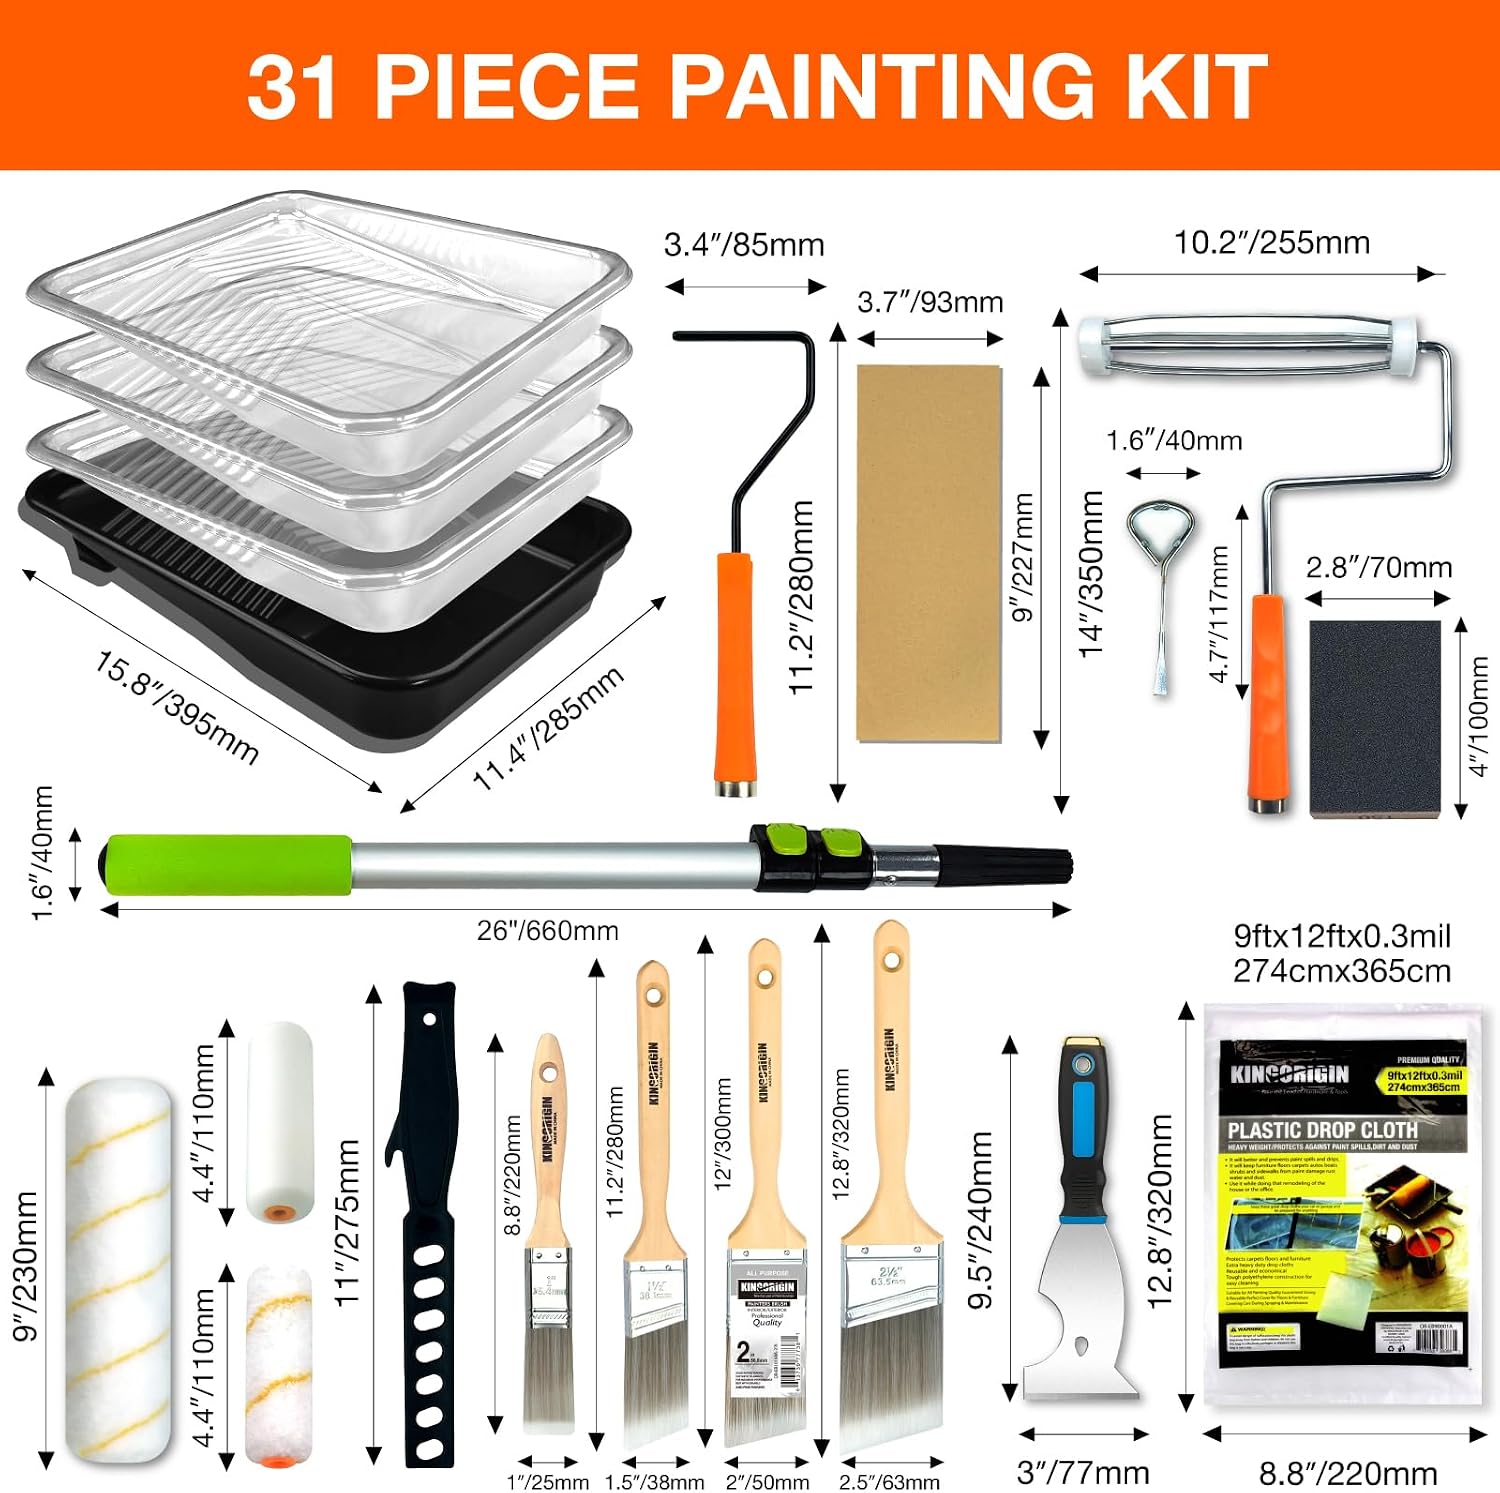
You’re standing in the paint aisle with a color chip in your hand and the sudden realization that paint is just one item on a very long list. The whole-home repaint — meaning you’re painting most or all interior rooms in a single project, not just touching up a bathroom — is a different animal than a weekend accent-wall job. The paint itself might run $400 to $1,800 depending on brand and square footage, but the supplies (rollers, brushes, tape, drop cloths, primer, patching compound, trays, extension poles) can add another $150 to $350 if you buy without a plan. This guide is a buying framework: what to buy once and reuse, what to buy per-room, where the cheap version is fine, and where skimping costs you in time and finish quality. By the end, you’ll have a clear kit list and a decision rule for every line item.
The Supply Stack: What You Actually Need vs. What’s Optional
Before buying anything, split the supply list into three categories:
One-time kit items — tools that last the whole project and beyond: extension poles, paint keys, a quality brush set, a 5-in-1 tool, a sturdy ladder.
Consumables you’ll replenish — roller covers, liner bags (if using), tape, sandpaper, patching compound. These scale with room count.
Paint-adjacent prep materials — primer, TSP substitute (a cleaning solution for walls before painting), plastic sheeting. Scope these to actual need rather than buying a generic “whole home” bundle.
Most overspending on a whole-home kit happens in one of two ways: (1) buying six brushes when two high-quality ones do everything, or (2) buying cheap roller covers that leave lint on your walls and force a re-roll. The math on quality tools is fairly consistent — owners across long-run review aggregates report that a $14 Purdy or Wooster synthetic brush outlasts four or five $3 foam brushes and leaves a meaningfully better edge on trim.
Per This Old House’s paint quantity methodology, the standard calculation is: total square footage of walls ÷ 350 = gallons needed per coat. For a 1,500 sq ft home with 8-foot ceilings and roughly 2,400 sq ft of paintable wall surface, that’s about 7 gallons per coat. Two coats = 14 gallons minimum, before accounting for trim, ceilings, or doors.
The Core Kit: What to Buy Once
Extension poles (2 count): A 4–8 ft adjustable pole and an 18–36 in. short pole cover 90% of wall and ceiling work without a ladder for most rooms. Buy once; these last decades. Wooster and Purdy both make solid aluminum poles; owners consistently describe them as set-it-and-forget-it purchases in aggregated review threads across home improvement publications.
Brush set (3 brushes, total): You need three brushes for a whole-home project:
- A 2.5-inch angled sash brush for trim, corners, and cutting in (the term for painting the edges of a wall before rolling the field)
- A 3-inch flat brush for wide trim like baseboards and door casings
- A 1.5-inch angled brush for tight detail work around window muntins and hardware
Synthetic bristles (nylon/polyester blend) are the right call for latex paint — the most common interior formulation today. Natural bristle brushes are designed for oil-based finishes. Purdy’s XL line and Wooster’s Shortcut series are the brushes that show up repeatedly in Bob Vila’s tool guides and Apartment Therapy’s painter’s tape and tool roundups as the default recommendation for serious DIY work. Budget: $45–$65 for all three.
5-in-1 tool: Scrapes dried paint, opens cans, cleans rollers, sets nail holes. The $8 version at the hardware store works as well as the $18 version. Buy one; replace never.
Sturdy stepladder (6 ft): If you don’t own one, this is the time. A whole-home project without a reliable 6-foot ladder means borrowed gear and interrupted workflow. Werner and Louisville Ladder are the names that appear in published safety and tool guides — both rated for 225–300 lb and stable enough for extended paint sessions.
Consumables: Scale These to Your Room Count
Roller covers: The most under-spec’d item in most DIY kits. For smooth to lightly textured walls (the majority of drywall interiors), a 3/8-inch nap (nap = the thickness of the roller’s fiber layer; thicker nap = more paint pickup, better for rough surfaces) is the standard call. For knockdown or orange-peel texture, step up to 1/2-inch nap.
Plan on one roller cover per room for a two-coat project if you’re wrapping covers in plastic between coats. If you’re working day-to-day and letting covers dry out, plan for two per room. Purdy White Dove and Wooster Sherlock covers are the names reviewers return to consistently; the $7–$9 per-cover price is worth it relative to the $2.50 import covers that leave lint embedded in your finish.
By the numbers:
| Room type | Tape (linear ft) | Roller covers | Sandpaper sheets |
|---|---|---|---|
| Bedroom (12×12) | ~80 ft | 1–2 | 4–6 |
| Living room (16×20) | ~120 ft | 2–3 | 6–8 |
| Kitchen/bath (varied) | ~60 ft | 1 | 3–4 |
Painter’s tape: FrogTape (the green or yellow version) is the consistent recommendation in Apartment Therapy’s masking tool coverage for clean lines on trim. The 3M ScotchBlue with Edge-Lock is the other name in that tier. For a whole home, buy in bulk: four to six rolls of 1.5-inch tape will cover most projects. Don’t buy the 99-cent store-brand tape — it bleeds through on textured surfaces and tears mid-pull, which costs you time re-doing edges.
Drop cloths: Canvas drop cloths (not plastic) are worth owning for a whole-home project. Plastic sheets slip, bunch, and don’t absorb drips — they just spread them. A 9×12 canvas cloth runs $25–$35 and lasts indefinitely. Two of them cover most rooms with overlap. Plastic poly sheeting is fine for covering furniture in the center of a room; just don’t walk on it.
Sandpaper and patching compound: For prep work — smoothing old repairs, feathering joint compound patches, scuff-sanding glossy surfaces before repainting — you’ll want 120-grit for initial scuffing and 220-grit for finish passes. A sanding block (a small rubber or foam block that holds the sandpaper flat) prevents the finger-groove marks that come from hand-sanding. Dap Drydex or DAP Alex Plus spackling for nail holes and minor dings; a pre-mixed joint compound for anything larger than a quarter.
Primer: The Decision That Affects Every Other Choice
Primer is the coat you apply before paint to seal the surface, improve adhesion, and prevent old colors from bleeding through. Whether you need it, and how much, depends on three conditions:
-
Drastic color change (dark to light or vice versa): Yes, prime. Skipping primer on a color shift from deep charcoal to white can add two to three extra paint coats — far more expensive than the primer itself.
-
New drywall or fresh repairs: Yes, prime. Bare drywall is porous and will absorb your first paint coat unevenly, showing “flashing” (dull spots where the surface sucked in paint differently). Per The Spruce’s wall prep guidance, a PVA drywall primer seals new drywall efficiently before finish coats.
-
Repainting same color or similar tone over well-adhered existing paint: You can often skip a separate primer coat if you’re using a paint-and-primer-in-one formula — most mid-range and premium interior paints (Sherwin-Williams Emerald, Benjamin Moore Regal Select, Behr Marquee) include primer in their formulation at this tier. Owners of these paints report reliable one-coat coverage in same-color repaints on review aggregates.
For a whole-home project that spans new drywall repairs AND color changes, the most efficient approach is: spot-prime repairs with a shellac-based primer (Zinsser BIN is the name that appears in virtually every primer discussion in professional painting forums and This Old House coverage) for stain blocking, then use a quality paint-and-primer for the field coats.
Where the Premium Paint Math Actually Works
If you’re specifying premium architectural finishes — Farrow & Ball Estate Emulsion, Portola Rooms limewash, Fine Paints of Europe Hollandlac — the supply kit calculus shifts slightly. Architectural Digest’s coverage of premium paint brands consistently notes that these paints reward preparation and quality application tools more than commodity paints do, because their formulations (higher pigment load, mineral bases in the case of limewash) show brush marks from cheap bristles more readily.
For a Farrow & Ball or Fine Paints of Europe project, the Purdy Clearcut or Wooster Shortcut in the 2.5-inch angled format is the minimum brush spec most finishing contractors and serious DIYers report using. The finish difference from a $14 brush vs. a $4 brush is more visible in high-pigment, matte formulas — owners working with these paints consistently flag brush quality as a leverage point in finished-result discussions on design forums and in Architectural Digest reader project roundups.
For DTC brands like Clare, Backdrop, and Lick — which ship in curated kits and position as weekend-friendly — the supply requirements are similar to mid-range commodity paints. Clare in particular publishes paint quantity calculators on their site that align with the industry-standard 350 sq ft per gallon figure, making their estimates reliable for kit planning.
The Clear Decision Framework
Here’s the if/then decision rule for kit-building:
If you’re doing 3 or fewer rooms: Rent the extension pole, buy one canvas drop cloth and two good roller covers, skip bulk tape purchases. Total supply spend target: $60–$90.
If you’re doing 4–8 rooms (full home): Buy the core kit once (brushes, poles, drop cloths, 5-in-1) at $120–$160 upfront, then consumables per room. Total supply spend target: $180–$280 depending on tape and roller cover count.
If you’re using premium architectural paint ($70+/gallon): Do not cut corners on brushes or roller covers. The quality of the tool directly affects whether a $90/quart paint looks like what you paid for. Add $30–$50 to your brush budget; it’s the highest-return line item in the kit.
If you have new drywall repairs: Budget for Zinsser BIN shellac primer ($25–$35/quart) as a spot-prime before your finish coats. Skipping it on fresh patches creates visible sheen and texture inconsistency that no second coat fixes.
The whole-home repaint is a project where the supply kit is 15–20% of total project cost but accounts for 40–50% of finish quality variance. Buy the brushes right, scale the consumables to your actual room count, and treat primer as a diagnostic question rather than a default yes or no — and you’ll come out with a finish that justifies whatever you spent on the paint itself.